On-boarding and Deploying Your First Devices on the Helium Network - Part 2
Importing the smart building dashboard template and assigning sensors.
- To begin, make sure you are still logged into your TagoIO account. Next, click the link to the Smart Building Monitoring Reference Template. This opens a prompt for you to install the template into your TagoIO account.
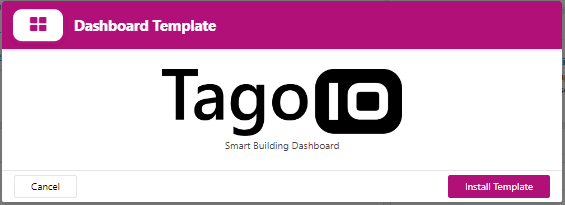
Template installation prompt
- Click Install Template.
- Associate the device names you have added to TagoIO with the imported dashboard. Remember that the devices must be added to TagoIO before importing the template.
Note
You can assign the Dragino Door Sensor LDS02 to the Mailbox sensor if you did not add a second entry door sensor.
- Click Confirm associations.
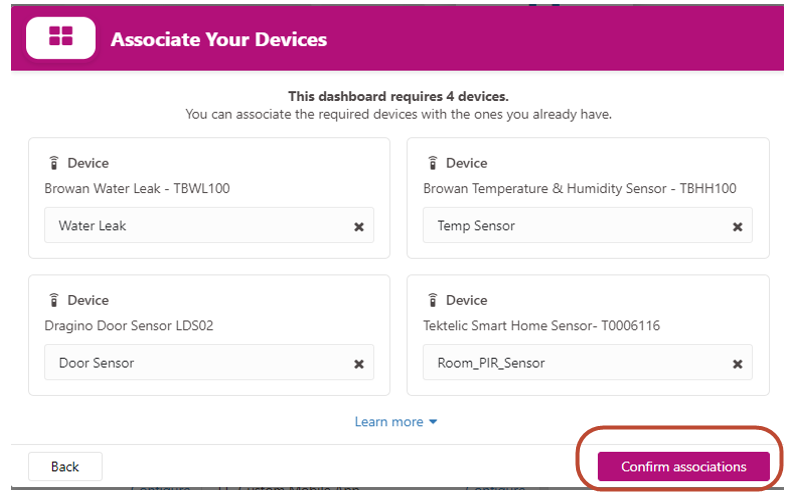
After selecting devices, click Confirm associations
This creates a new Smart Building Dashboard in your TagoIO account. To test the functionality of the dashboard, trigger the door, motion, or leak sensor and observe that the corresponding animated status icon changes state.

Dashboard with active alert icon states
The TagoIO platform offers a wide range of tools and utilities to further customize IoT solution deployments. Explore ways to further enhance this basic Smart Building dashboard by viewing videos at Videos about our IoT platform - TagoIO