LoRa® on-premise - at Home and in the Office documentation
Join Your Devices to the Network
Join Door and Window Sensor
Now to activate the door/window sensor:
-
Open the UI of your ChirpStack network server by browsing to
http://*{RASPBERRY_PI_IP_ADDRESS}*:8080/if you haven’t already done so. -
Click Applications in the menu on the left.
-
Click on the Door/Window Sensor Application you created earlier.
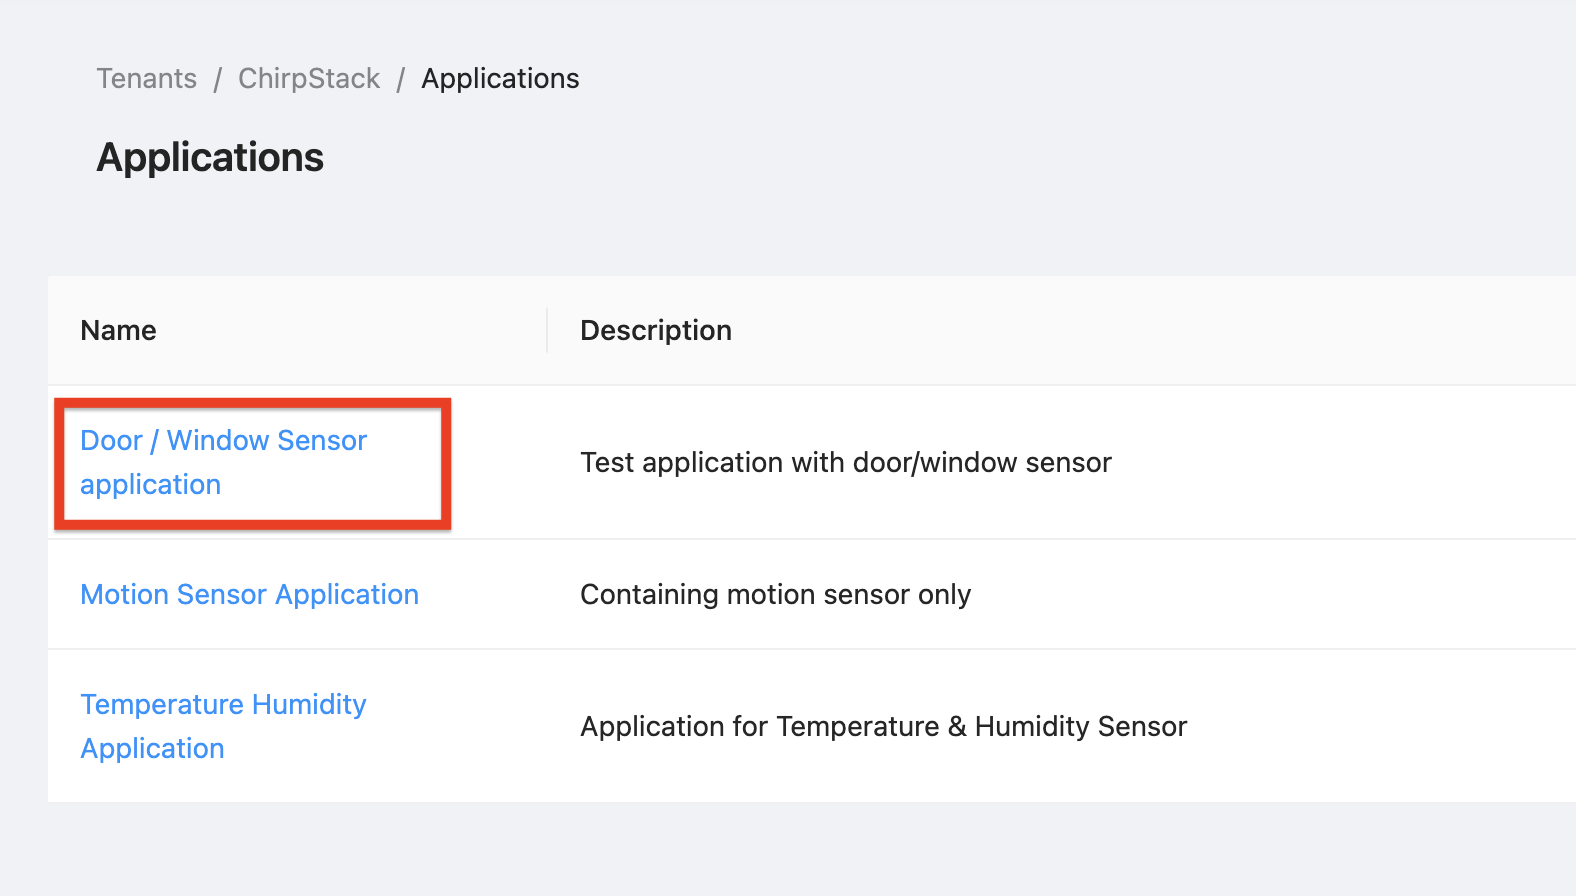
Figure 1: Link to Application
-
The device registered to the application appears. Click on the link in the DevEUI field of the Door/Window device.
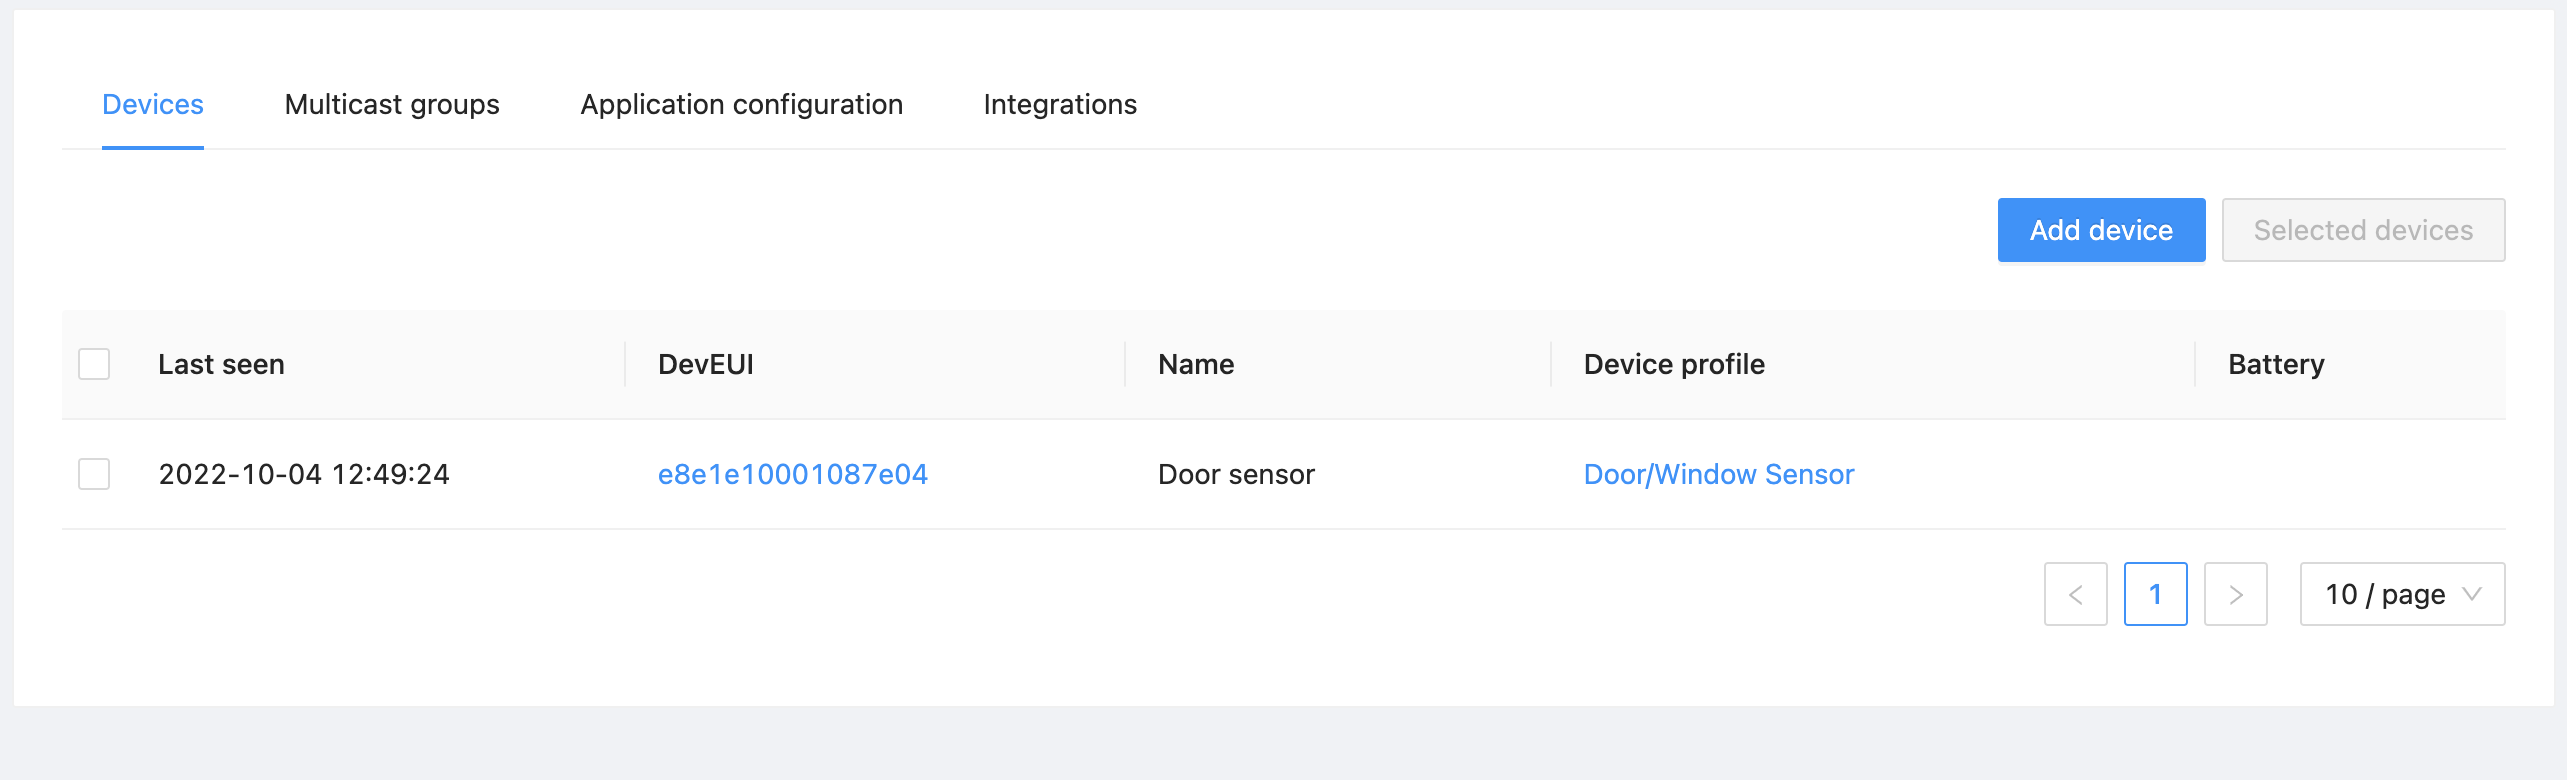
Figure 2: Link to Device
-
Select the Activation tab for the device, it will state This device has not (yet) been activated. This is to be expected.
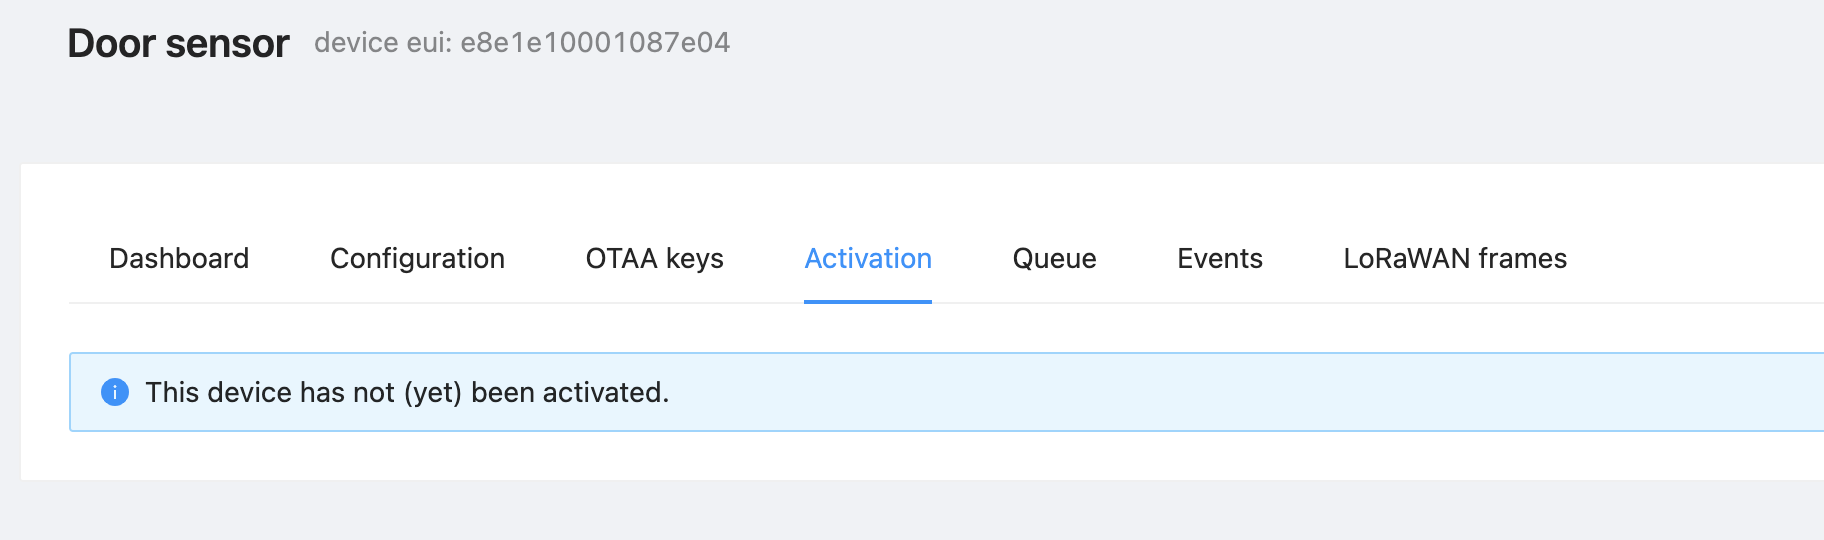
Figure 3: Device activation status – not yet activated
-
At last, it is time to activate the device! This means, in the case of the Browan Door/Window sensor, pulling the plastic tab out to connect the battery. Do this now.
-
Wait a few minutes, then refresh the page and select the Activation tab again. You should see the door/window sensor has come online.
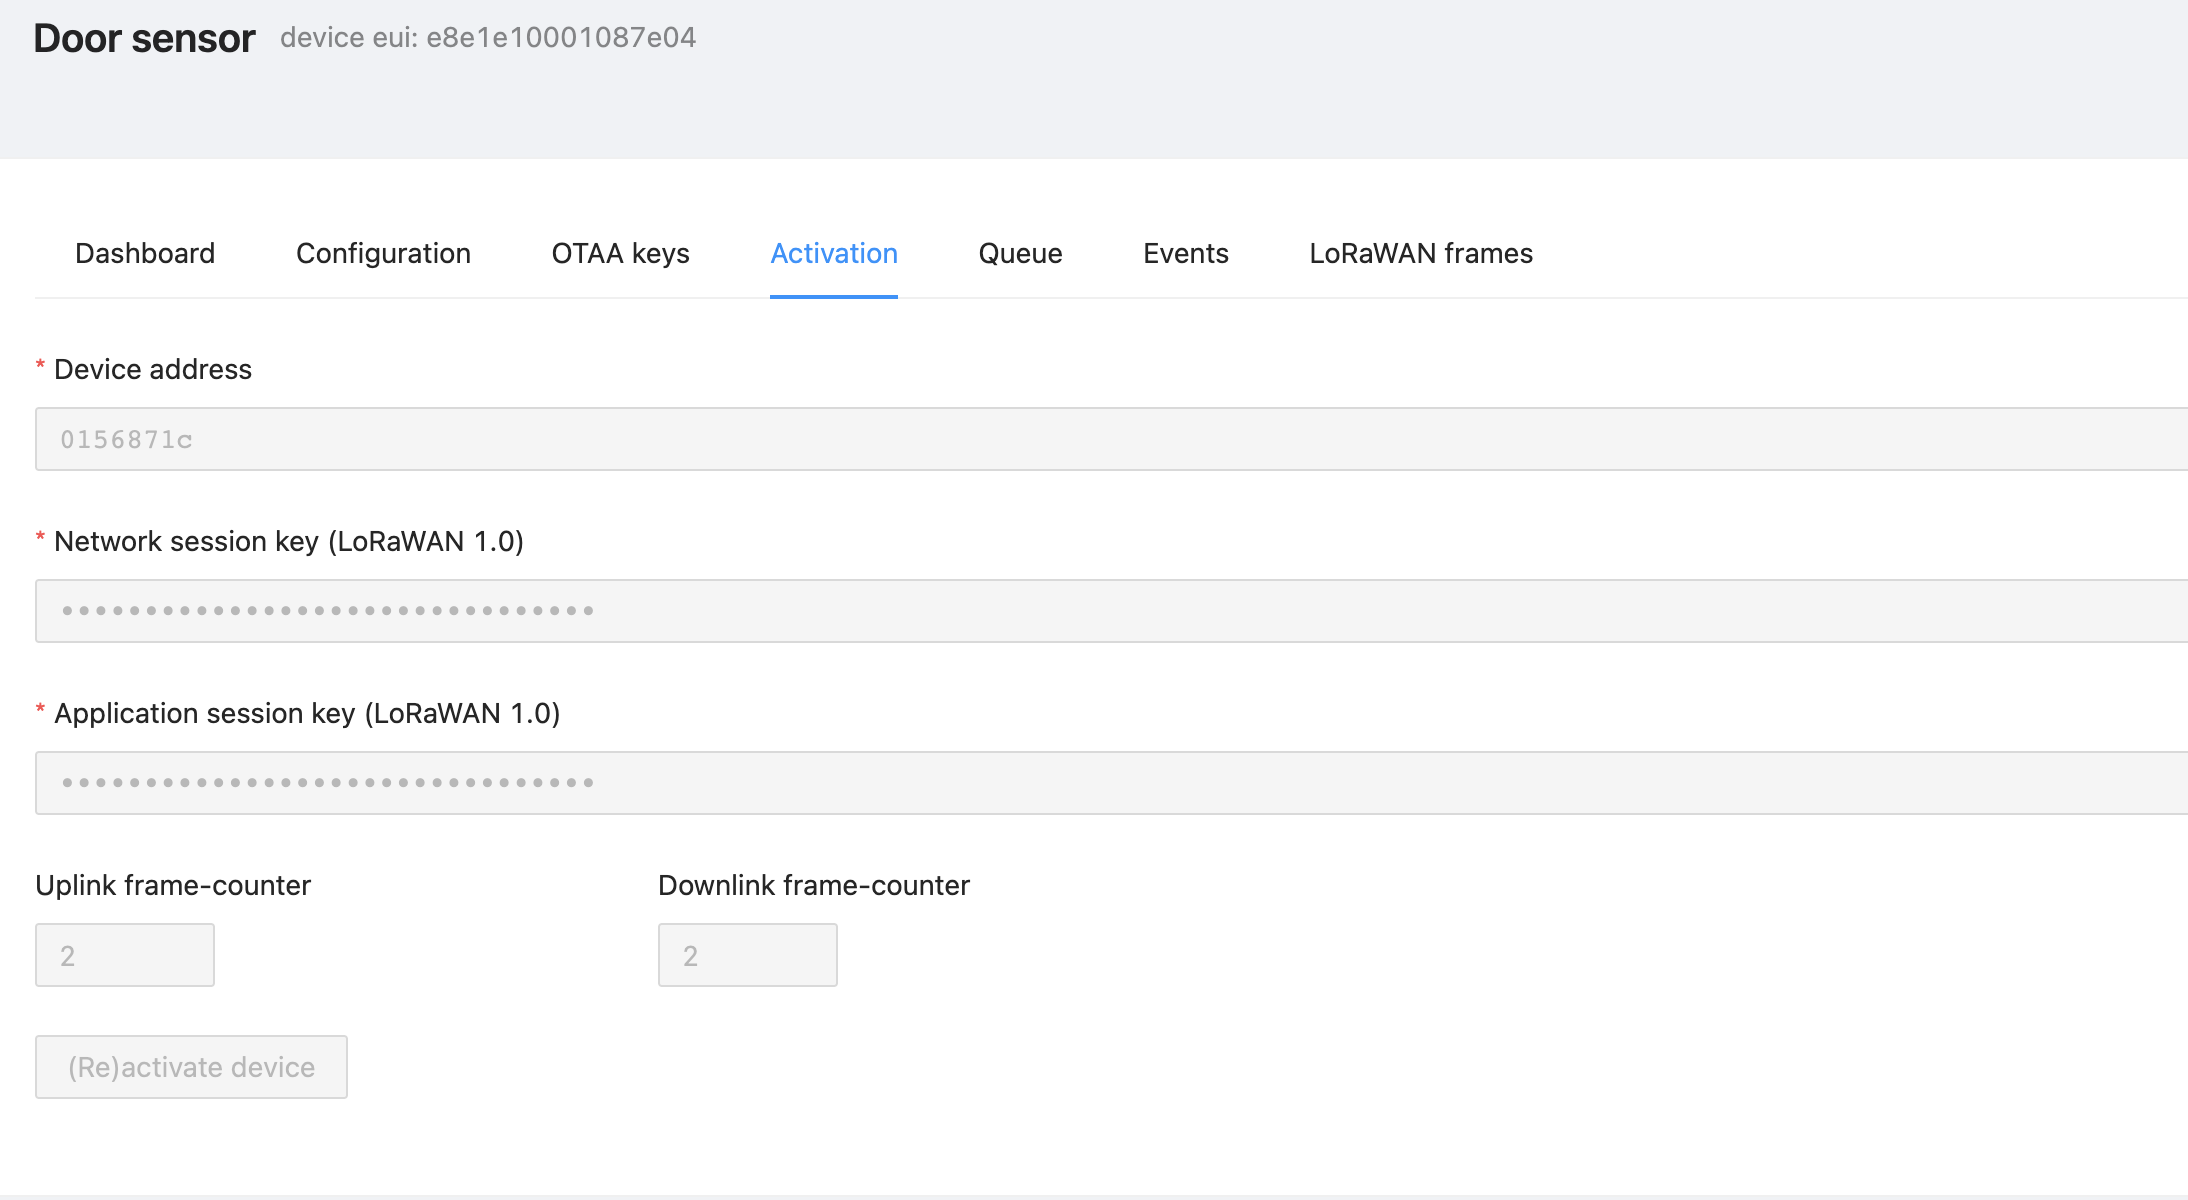
Figure 4: Device activation status – now activated
Warning
If you do not see the online status after five minutes, check you entered the NwkKey into the Application Key field, and make sure the DevEUI was correctly entered.
You have now successfully added your first device to the ChirpStack application and joined it to your network.