LoRa® on-premise - at Home and in the Office documentation
Installing and configuring the gateway
Connect to the Gateway
-
Make sure the Raspberry Pi is turned on.
-
The tool you use for interacting with the gateway depends on your operating system.
If you are using Linux or macOS, use SSH.
If you are using Windows, check to see if SSH is available:
-
Enter the text PowerShell into the Windows Search bar.
-
Open PowerShell.
-
At the prompt enter:
ssh
If no error message displays, SSH is installed on your PC, and you can proceed to the next step.
If an error does display, download PuTTY, install it, and then proceed to the next step.
-
-
The next step depends on whether you are using SSH or PuTTY.
If you are using SSH:
-
If you are using Linux or macOS, open Terminal, if you are using Windows, open PowerShell.
-
Enter the following command, where {RASPBERRY_PI_IP_ADDRESS} is replaced with the RASPBERRY_PI_IP_ADDRESS IP address you found earlier:
ssh admin@{RASPBERRY_PI_IP_ADDRESS}
For example, if your IP address is 192.168.0.24, enter:
ssh admin@192.168.0.24
-
If you are asked whether you are sure you wish to connect, enter:
yes
-
Enter the default password:
admin
If you are using PuTTY:
-
Open PuTTY.
-
Enter the IP address of the Raspberry Pi in the Host Name (or IP address) field and click Open.
Note
A warning that the host key is not cached may display. This is normal. You can safely click Yes to continue.
-
At the login prompt enter:
admin
-
At the password prompt, enter:
admin
-
-
The Welcome screen displays, indicating that you are now connected to the gateway:
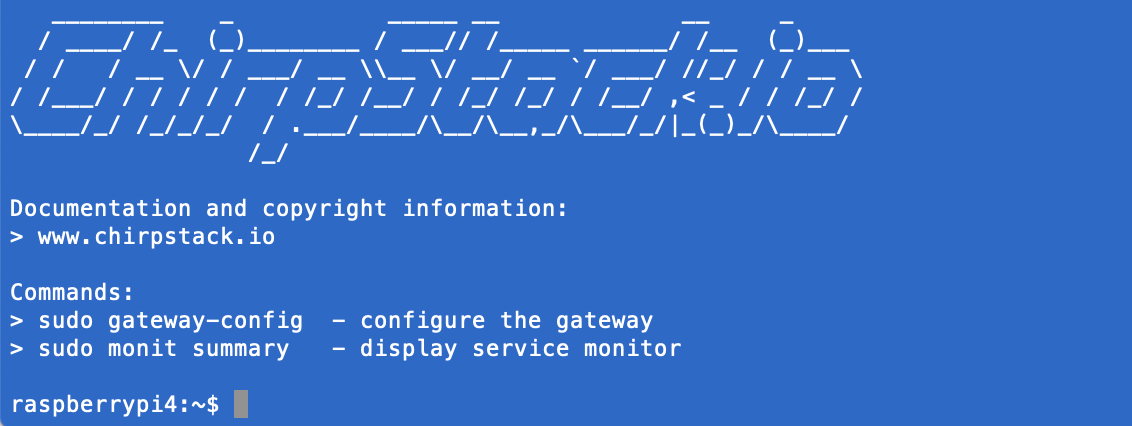
Figure 4: ChirpStack Welcome Screen