LoRa® on-premise - at Home and in the Office documentation
Installing and configuring the gateway
Gateway configuration
Validate that the Gateway is Configured Correctly
This section describes how to use the monit summary tool to check whether the gateway is operational.
-
At the command prompt, enter:
sudo monit summary
-
At the prompt, enter the password:
admin
-
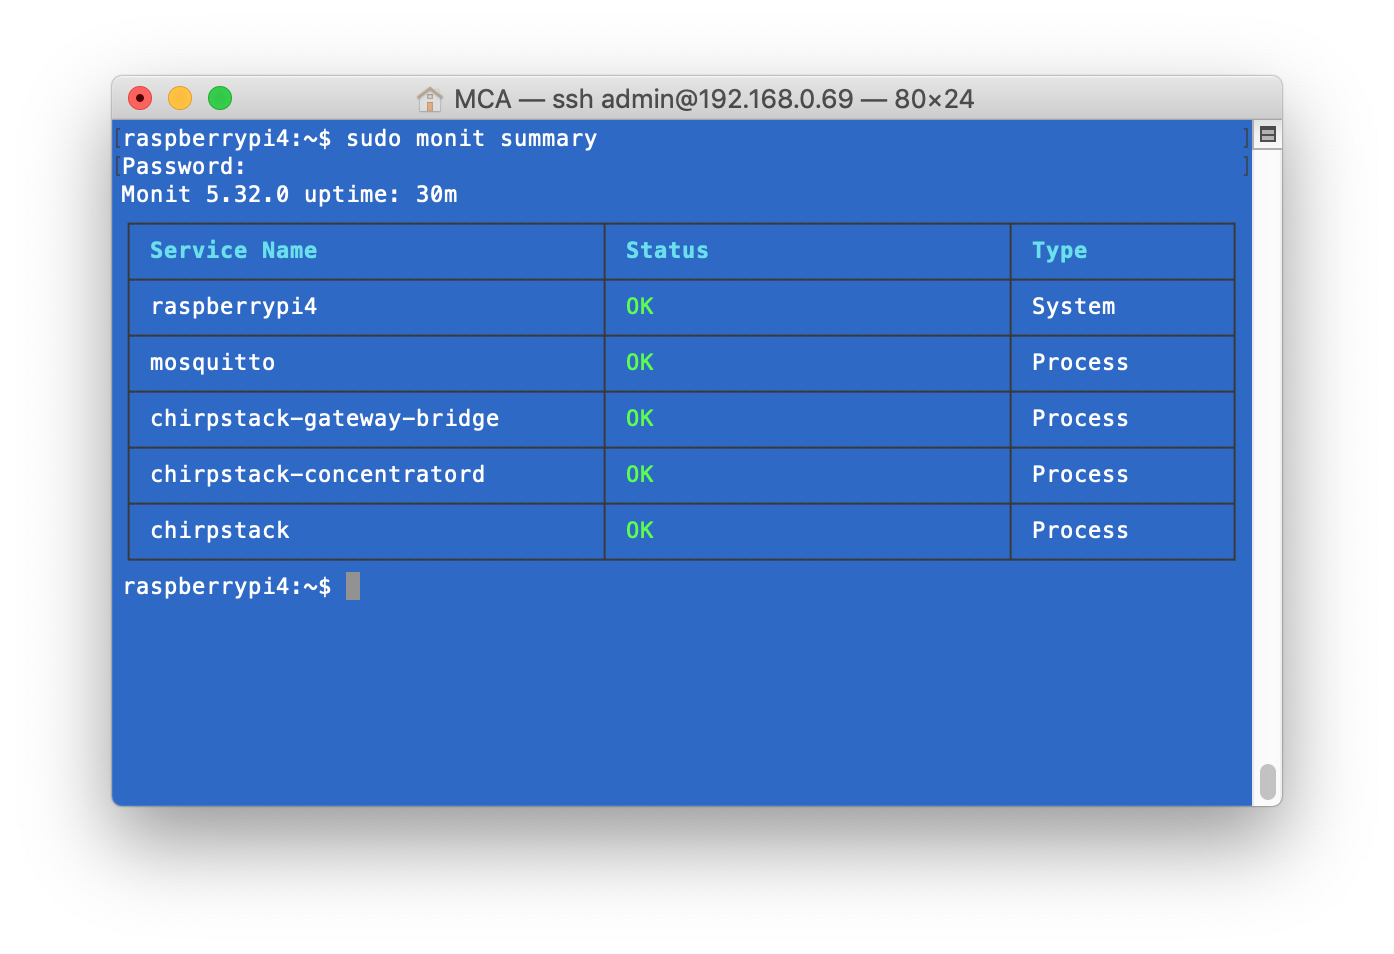
You should now see the summary report of the services running on the Raspberry Pi, as below:

Figure 5: Service status screen
Note
If the status of any of the services is anything other than OK, there is a problem with the gateway or shield. The issue could be hardware-related. To troubleshoot the issue, repeat all the steps in this section. If you still have a problem, you can explore the logs by following the steps in this guide.
Browse and Log in to your ChirpStack Gateway
-
On your desktop browser, browse to
http://*{RASPBERRY_PI_IP_ADDRESS}*:8080/, replacing {RASPBERRY_PI_IP_ADDRESS} with the RASPBERRY_PI_IP_ADDRESS IP address you found earlier. -
At the ChirpStack login page, enter admin into the Username / email field, and admin into the Password field.
-
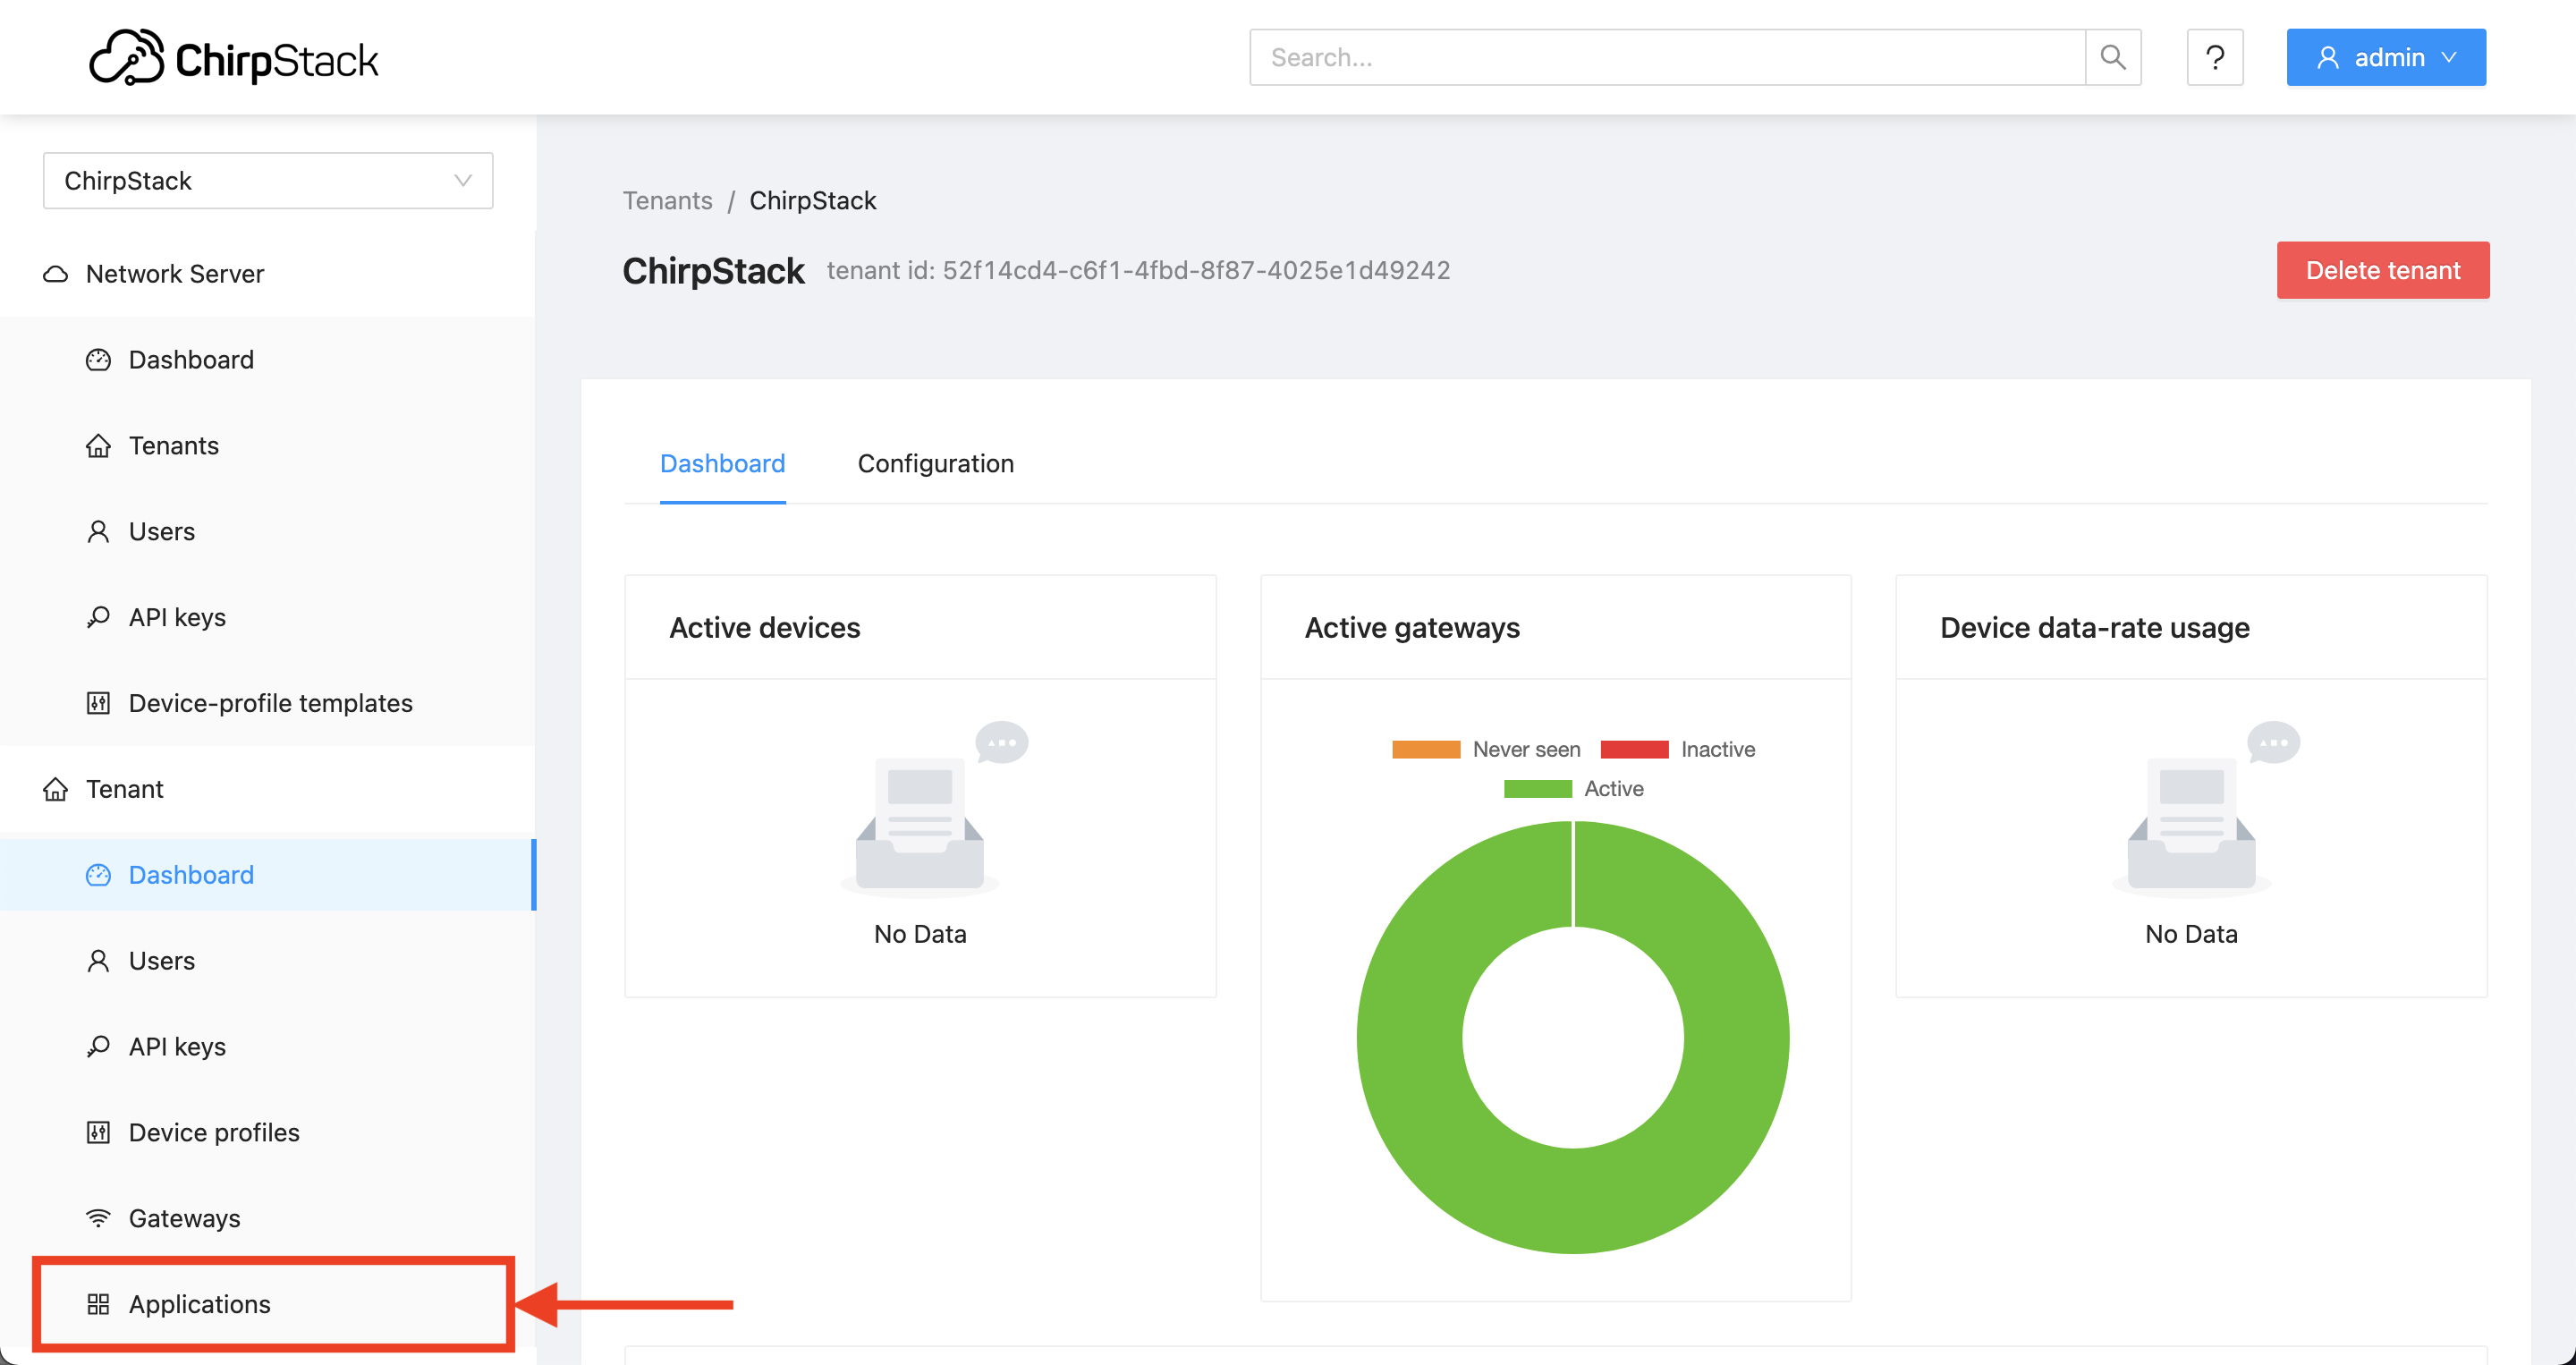
You see the home page for the ChirpStack admin portal:

Figure 6: ChirpStack Admin Portal
Change Default Username and Password
-
Click Users in the left menu.
-
Click on the admin user.
-
Enter a valid email address you own in the Email field and click Submit to update.
-
Click your user with the updated email address.
-
Click Change password.
-
Enter a password into the Password and Confirm password fields.
-
The email and password are now updated.
View Your Gateway
-
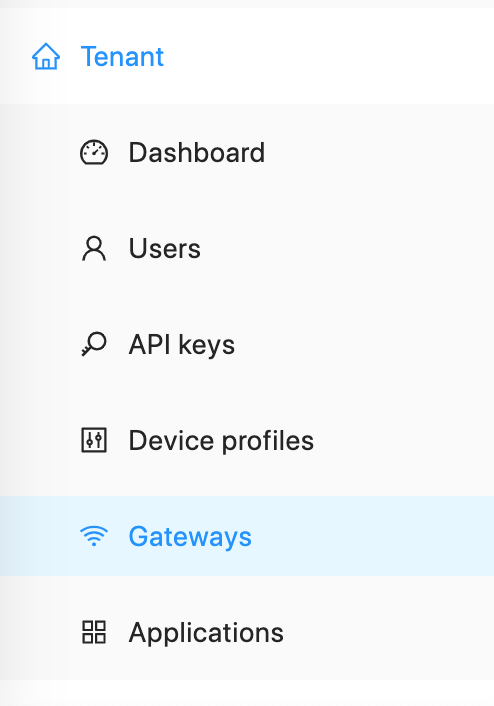
Click Gateways inside the Tenant section of the menu on the left.

Figure 7: Gateways Item Inside Tenant Menu Section
-
In the Last Seen column, a message indicates when the gateway was last seen by the network.

Figure 8: Gateways Page Showing Gateway as Online
Now you can move on to creating device profiles so that you can connect and use your LoRa sensors.